Mental health is important, not only for ourselves but also for the people we surround ourselves with. Therefore, this is precisely the topic we will focus on at the upcoming FemTech workshop. In this workshop, using simple microcontrollers and physical components, we aim to enable an individual to track their current feelings, mood, or state, and visualize these recordings in various ways.
The vision, as always, is to foster inspiring collaboration and provide hands-on insights into how interactive technologies are developed. We will explore what it takes to realize bold and innovative ideas, working on concrete development and engaging design that is both purposeful and meaningful.
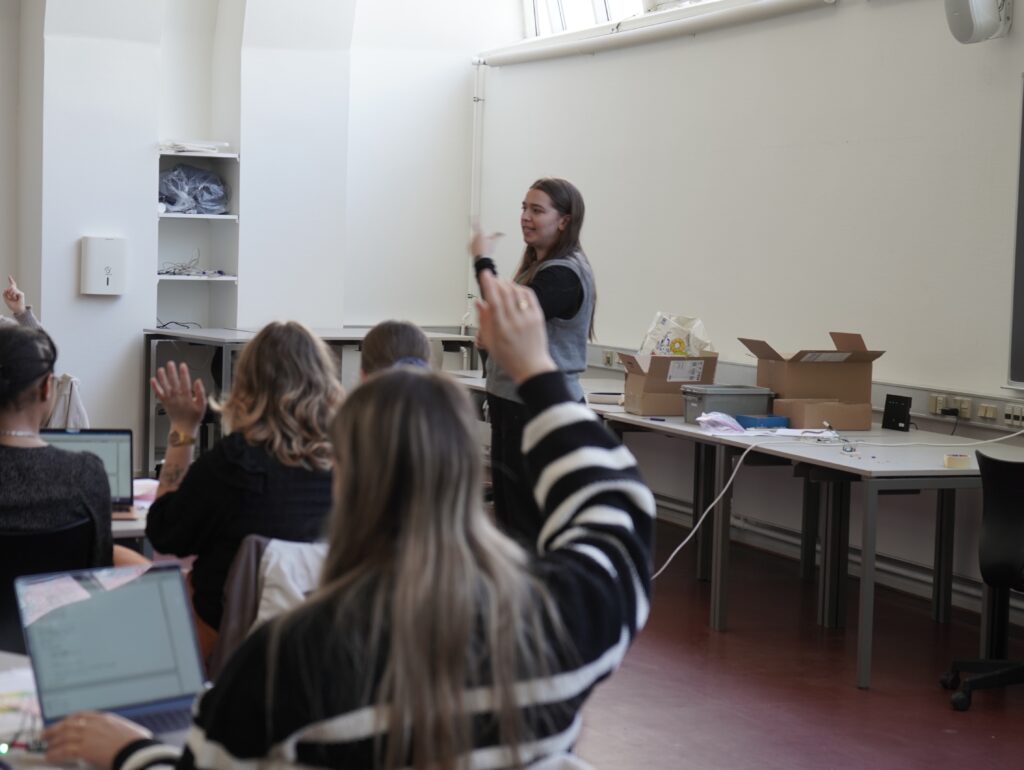
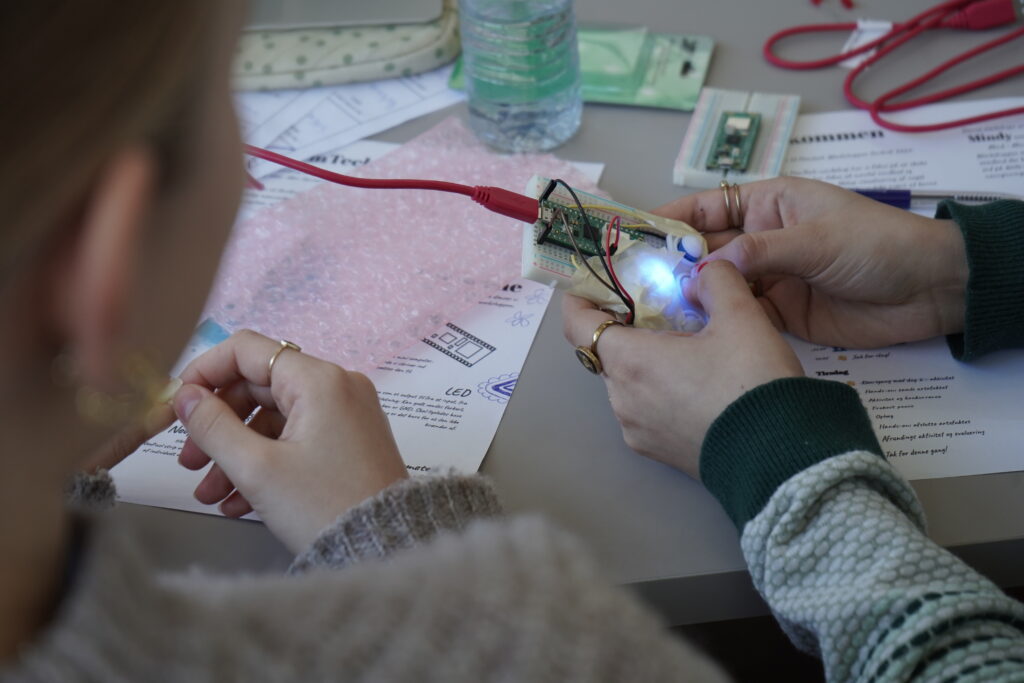
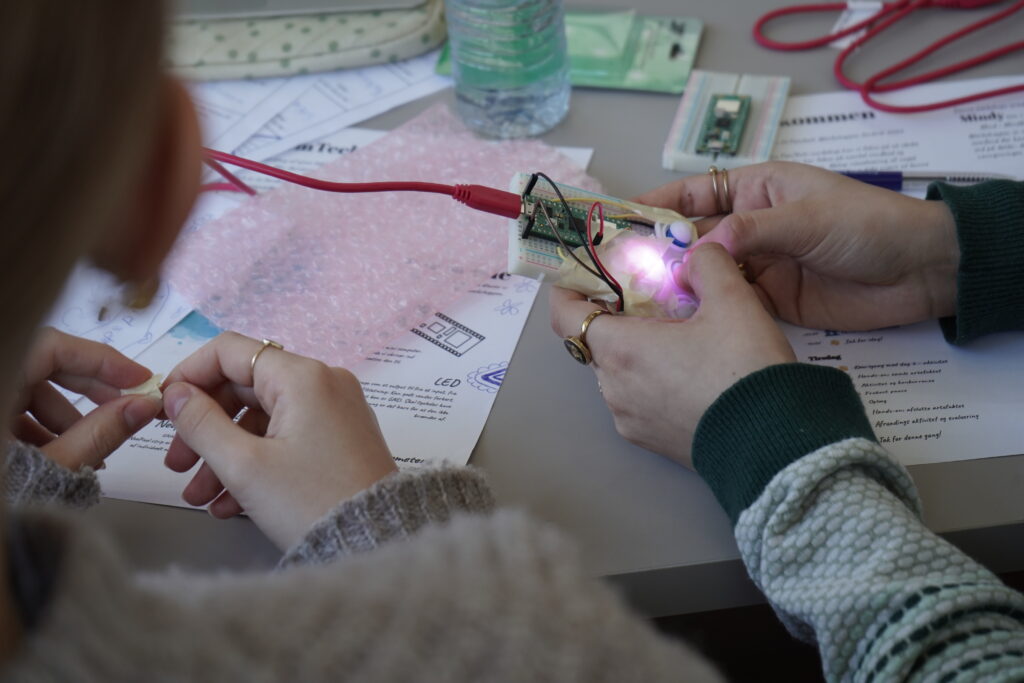
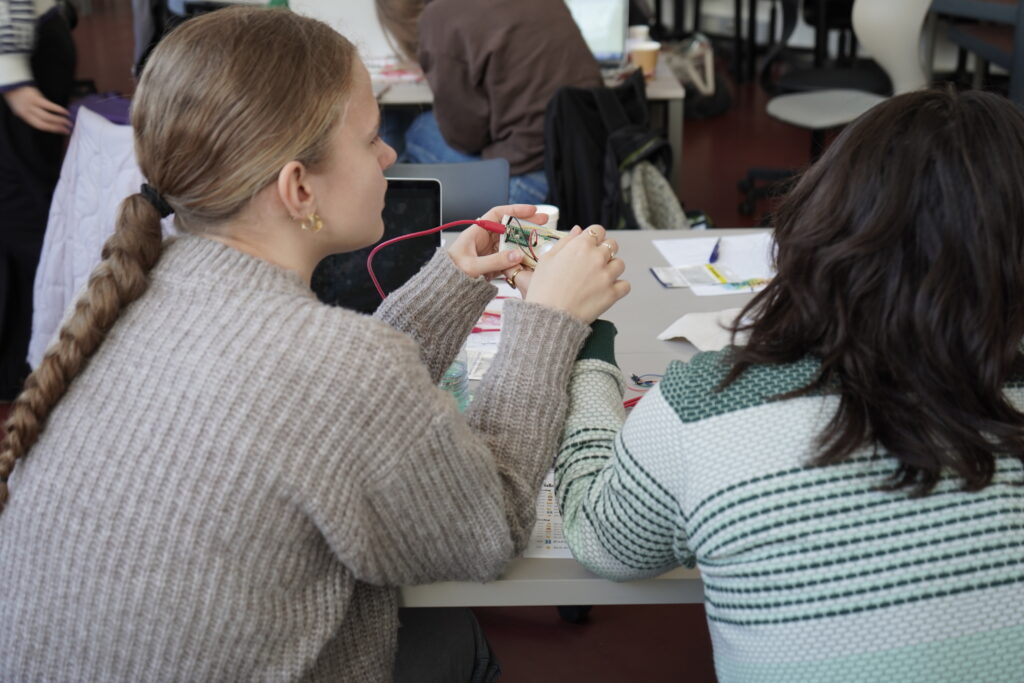
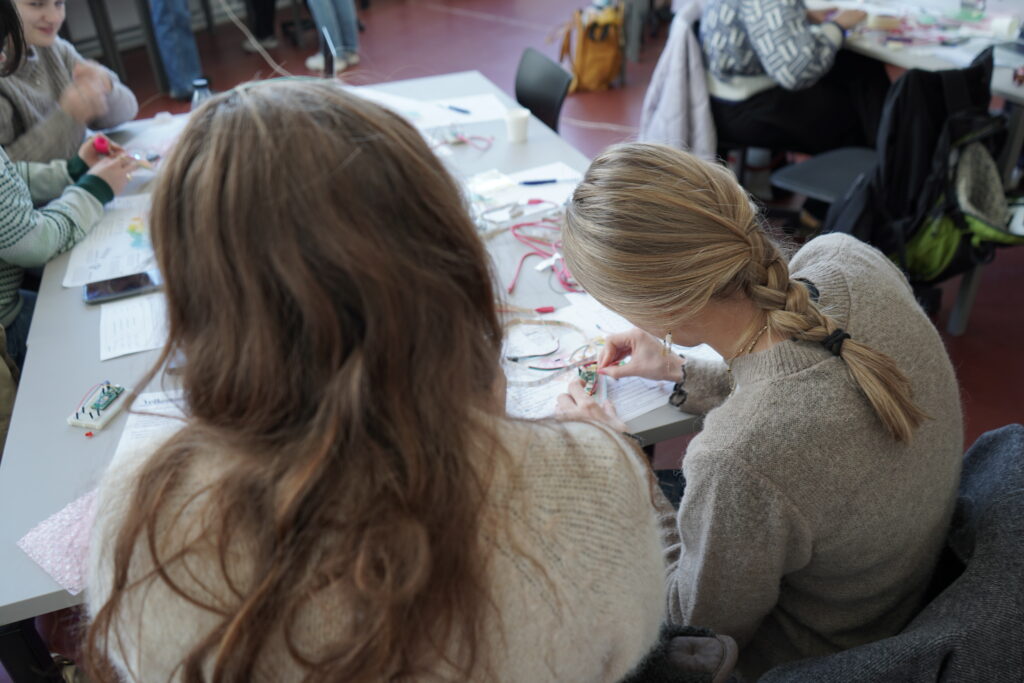
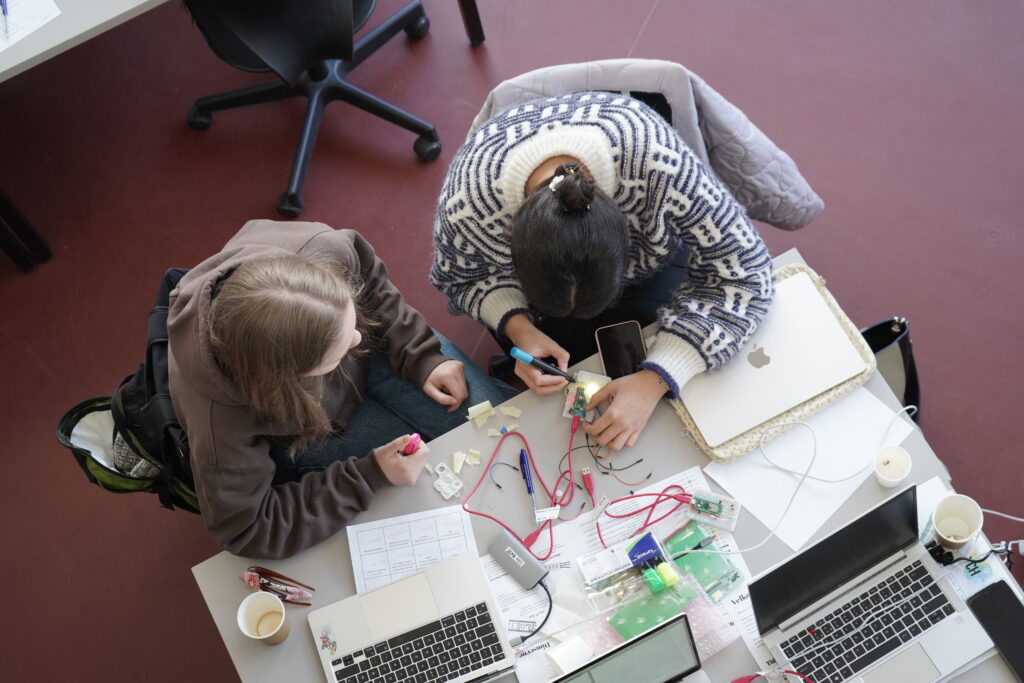
Some pictures from the days:


On the first day the focus was on understanding the basic code and making some of the components work individually, that we would combine and use for the artifact that we would build on the second day.
Practicalities
Before we could begin to code, we needed an editor. The students was advised to download the Thonny editor, unless they already had an editor they preferred to use.
Besides the computer, they were given:
- A Raspberry Pi Pico 2022 (Wifi)
- Charger cable
- Potentiometer
- Button
- Small Led
- Neopixel strip
Exercise 1 – Introduce yourself through coding
First we gave the students an introductory code to explain following functions:
- print()
- input()
- if/ else
- for loops
- string/integer/float
We explained the following introductory code and made the students interact with it.
#Print statements
print ("Hello world")

#Use input and a variable
print ("What is your name?")
myName = input()
print ("It is good to meet you," + myName)

#use a variable and a number OBS strings (always input) and integers
print ("The length of your name is: " + str(len(myName)))
print ("What is your age?")
myAge = input()
print ("On your next birthday you will be " + str(int(myAge) + 1) + ".")


#IF and ELSE
print ("Do you want me to sing you a birthday song? please write Yes or No")
answer1 = input()

if answer1 == "Yes":
    print ("Happy birthday to you, happy birthday to you, happy birthday dear " + myName + " happy birthday to you")
else:
    print ("Okay")


#FOR LOOP
print ("Do you want me to say Hurra the number of years?")
answer2 = input()

if answer2 == "Yes":
    for i in range(int(myAge)):
        print ("hurra")
else:
    print ("Okay")

print("HUUUUUURAAAAAAAA")
Then the students needed to code their own questions, replacing and editing the code, to make an interview that they could use to get to know the other students. It would end up making code like the following:
#Print statements
print ("Mit navn er xx velkommen til dette interview")

#Use input and a variable
print ("Hvad er dit kælenavn?")
myName = input()
print ("Godt at møde dig," + myName)

#use a variable and a number OBS strings (always input) and integers
print ("Dit kælenavn indeholder: " + str(len(myName)) + " bogstaver")

#IF and ELSE
print ("Har du et kæledyr?(svar Ja eller Nej)" )
kaledyr = input()

if kaledyr == "Ja":
    print ("Nice, Hvilket kæledyr har du?")
    dyr = input()
    print ("Hvad hedder din " + str(dyr) + "?")
    dyrnavn = input()
    print ("Så du har en " + str(dyr) + " der hedder " + str(dyrnavn), ". Hvor gammel er den? (skriv antal år)")
    dyralder = input()
    print("Hvor længe har i haft jeres " + str(dyr) + "? (skriv antal år)")
    haftdyr = input()
    print("Så jeres hund var " + str(int(dyralder)-int(haftdyr)) + " år, da i fik den")

else:
    print ("Okay")

print ("Hvor mange kopper kaffe har du drukket idag?")
kaffe = input()
if int(kaffe) > 0:
    print ("Oh yes")
    print ("så må du være")
    for i in range(int(kaffe)):
        print("rigtig")
    print("frisk")


else:
    print ("Oh kan du ikke lide kaffe? svar Jo eller Nej")
    kanlide = input()
    if kanlide == "Jo":
        print("Hyggeligt, så kan vi drikke en kop sammen")
    else:
        print ("Helt okay, hvad kan du så lide?")
        drikker = input()
        print ("Så kan du drikke", str(drikker), "og så drikker jeg kaffe")
Exercise 2 – Random guessing game + tournament
As an ice breaker and getting to know the function “while True”, we made an ice breaker game where the students in their table groups, talked about the code, modifying as they saw fit, and then competed against each other.
num = random.randint(1, 10)
guess = None
guesses = 1 #If it started at 0 it would not count the first guess

while guess != num:
    guess = input("Guess a number between 1 and 10:")
    guess = int(guess)

    if guess == num:
        print ("Congratulations! you won using "+ str(guesses) + " guesses" )
        break

    else:
        print ("Nope, sorry, try again!" )
        guesses = guesses +1
The purpose of the game. was to guess a random number with the lowest number of guesses.
Exercise 3 – Buttons and led light – Reaction game and tournament
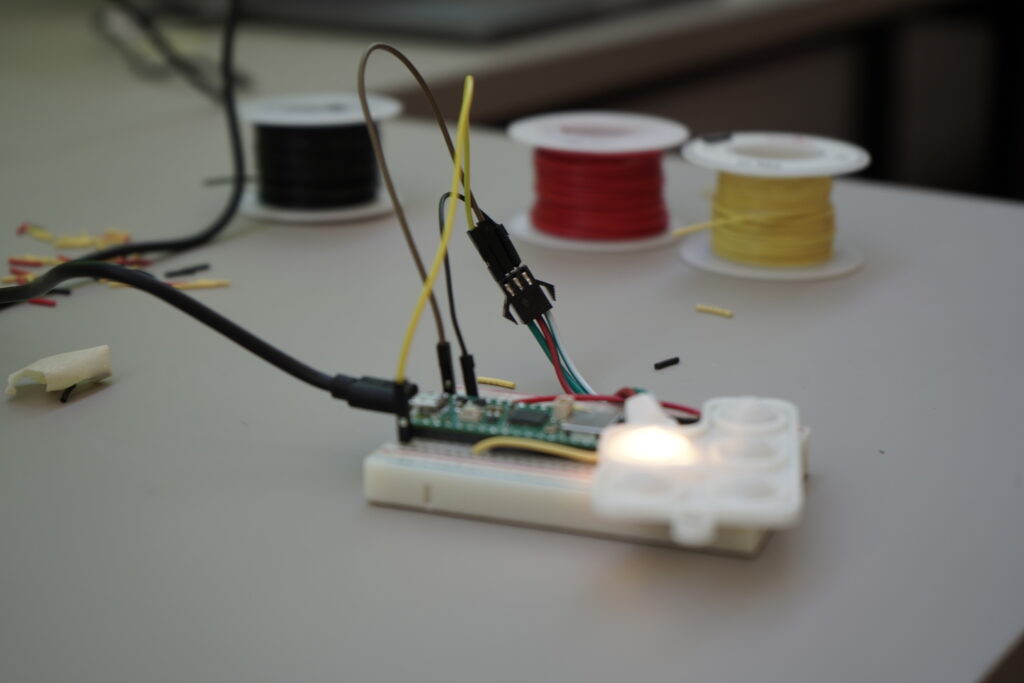
Get something to light – learning about circuits.
First we showed the students the pinmap of the Raspberry Pi:
The students made a circuit with a button connected to pin 5 and GND and a led connected to pin 1 and GND.
import machine
from machine import Pin
from time import sleep


button = machine.Pin(5, machine.Pin.IN, machine.Pin.PULL_UP)
led = Pin(1, Pin.OUT)

while True:
    if not button.value():
        led.value(1)
        print('Button pressed!')
        sleep(.2)
        led.value(0)
When the button and the led correctly worked we wanted to make a reaction game, using the following code. Initially as a one player game, and then a 2 player game that develop into being a tournament.
Reaction game 1 player:
import machine
import utime
import urandom

led = machine.Pin(1, machine.Pin.OUT)
button1 = machine.Pin(5, machine.Pin.IN, machine.Pin.PULL_UP)


def button_handler(pin):
    button1.irq(handler=None)
    timer_reaction = utime.ticks_diff(utime.ticks_ms(), timer_start)


    print("Your reaction time was " + str(timer_reaction)+ " milliseconds!" )

led.value(1)
utime.sleep(urandom.uniform(5,10))
led.value(0)
timer_start = utime.ticks_ms()
button1.irq(trigger=machine.Pin.IRQ_RISING, handler=button_handler)
Reaction game 2 player:
import machine
import utime
import urandom

led = machine.Pin(1, machine.Pin.OUT)
button1 = machine.Pin(5, machine.Pin.IN, machine.Pin.PULL_UP)
button2 = machine.Pin(6, machine.Pin.IN, machine.Pin.PULL_UP)


fastest_button = None

def button_handler(pin):
    button1.irq(handler=None)
    button2.irq(handler=None)
    global fastest_button
    fastest_button = pin


led.value(1)
utime.sleep(urandom.uniform(5,10))
led.value(0)
button1.irq(trigger=machine.Pin.IRQ_RISING, handler=button_handler)
button2.irq(trigger=machine.Pin.IRQ_RISING, handler=button_handler)

while fastest_button is None:
    utime.sleep(1)

if fastest_button is button1:
    print("Button 1 wins")
    led.value(1)
    utime.sleep(0.2)
    led.value(0)

elif fastest_button is button2:
    print("Button 2 wins")
    led.value(1)
    utime.sleep(0.2)
    led.value(0)
    utime.sleep(0.2)
    led.value(1)
    utime.sleep(0.2)
    led.value(0)
From the tournament

Exercise 4 – Potentiometer and neopixel strip
In the following code the students got to know the neopixel strip and learned to control it by a potentiometer. Additionally we talked about analoge and
digital signals, to understand the potentiometer values.
We talked about light as visualization, and how they can make their own functions, using other colors and making the visualizations as they see fit, for their purpose.
from neopixel import Neopixel
from machine import Pin, ADC, PWM
import time

pixels = Neopixel(5, 0, 0, "GRB") # no, state, pin, mode
adc = ADC(Pin(26, mode=Pin.IN))
#pwm_led = PWM(Pin(15,mode=Pin.OUT))
#pwm_led.freq(1_000)


def map_to_rainbow_color(value):
    num_colors = 7  # Number of colors in the rainbow
    # Map the potentiometer value to the range of rainbow colors
    if value > 0 and value < 300:
        return (255, 0, 0)  # Red
    elif value > 301 and value < 600:
        return (255, 127, 0)  # Orange
    elif value > 601 and value < 900:
        return (255, 255, 0)  # Yellow
    elif value > 901 and value < 1200:
        return (0, 255, 0)  # Green
    elif value > 1201 and value < 1500:
        return (0, 0, 255)  # Blue
    elif value > 1501 and value < 1800:
        return (75, 0, 130)  # Indigo
    elif value >1801 and value < 2100:
        return (148, 0, 211)  # Violet


while True:
    duty = adc.read_u16() #  between ~350-65535
    low_res = duty >> 5
    color = map_to_rainbow_color(int(low_res))
    pixels.set_pixel(0, (color))
    pixels.show()
    time.sleep_ms(100)
    print(low_res)
    print('#%02x%02x%02x' % color)
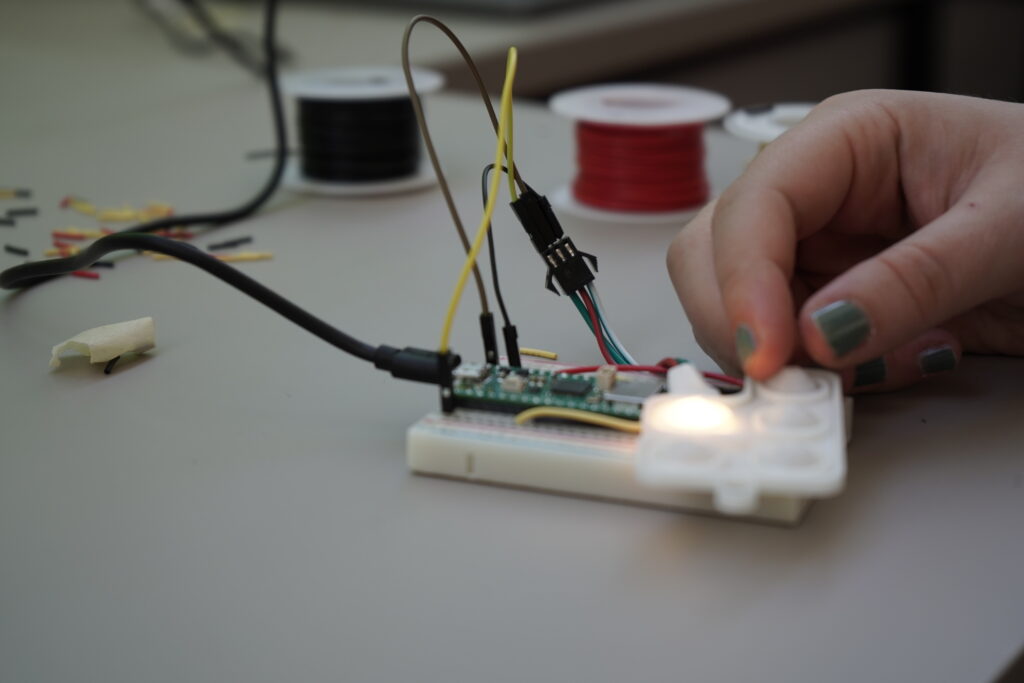
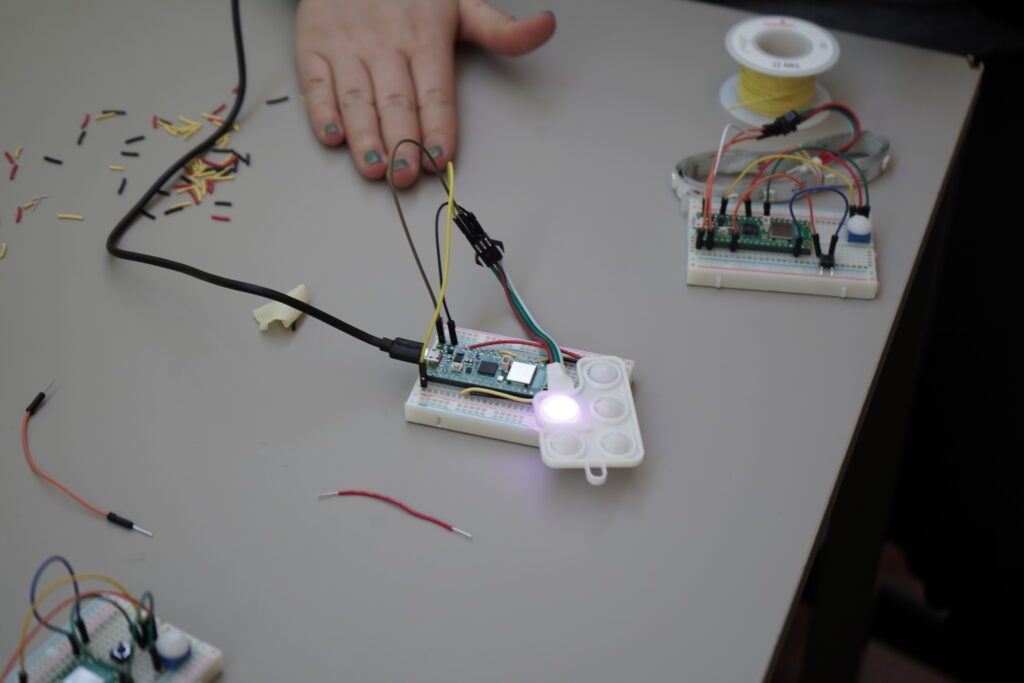
On the second day we focused on assembling the artifact. Putting together the components and code that we used the previous day, to make an artifact.
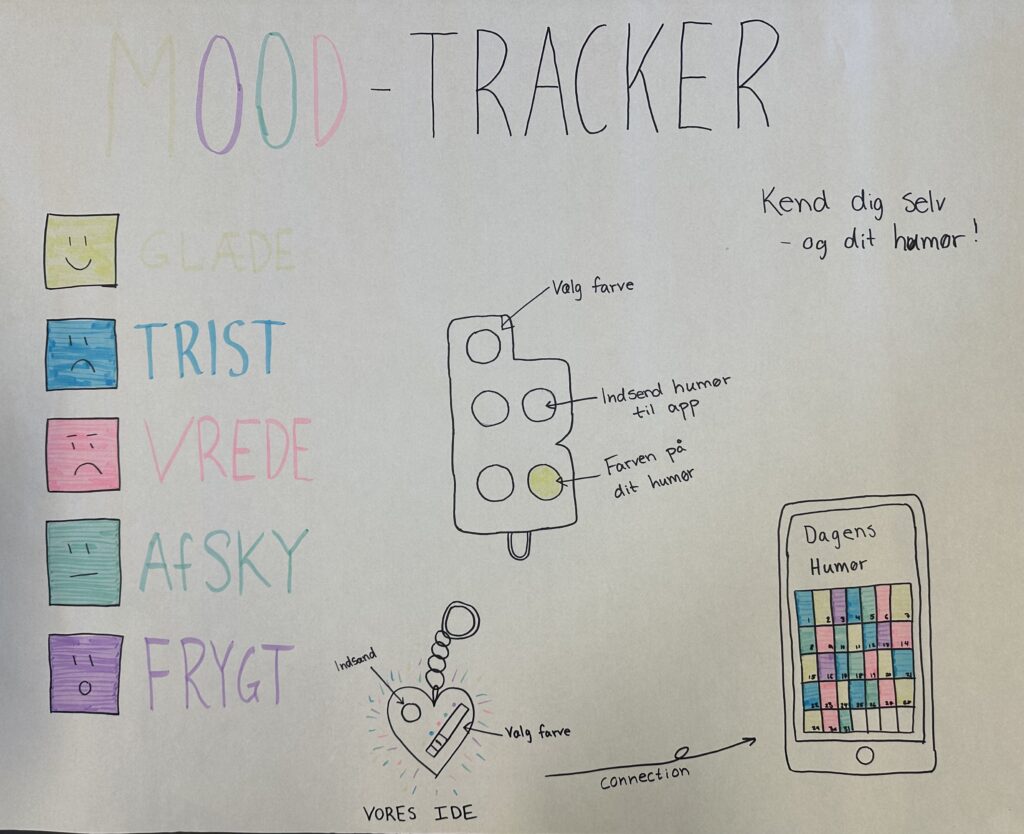
The Mindy artifact should work as a mood remote, with a potentiometer that shows a number of colors to represent the mood/state/energi of the user, and then a button that can send this color representation to a website, that could show a shared representation of colors from for example a whole group of students.
Assembling the artifact – Mindy
In the following code, the potentiometer is used as an input variable, that translates to a color value in the map_to_rainbow_color function. The button is used as an input to detect when to send the value through the api url, when the Raspberry has connection to wifi.
import network
from neopixel import Neopixel
from machine import Pin, ADC, PWM
import time
import urequests
import json

button = machine.Pin(5, machine.Pin.IN, machine.Pin.PULL_UP)


#Autorisation
ssid = "xx" #Indsæt her netværk
password = "xx" #indsæt her adgangskode

wlan = network.WLAN(network.STA_IF)
wlan.active(True)
wlan.connect(ssid, password)

url = "https://ml.dataekspeditioner.dk/add/"


pixels = Neopixel(5, 0, 0, "GRB") # no, state, pin, mode
adc = ADC(Pin(26, mode=Pin.IN))
#pwm_led = PWM(Pin(15,mode=Pin.OUT))
#pwm_led.freq(1_000)


def map_to_rainbow_color(value):
    num_colors = 7  # Number of colors in the rainbow
    # Map the potentiometer value to the range of rainbow colors
    if value > 0 and value < 300:
        return (255, 0, 0)  # Red
    elif value > 301 and value < 600:
        return (255, 127, 0)  # Orange
    elif value > 601 and value < 900:
        return (255, 255, 0)  # Yellow
    elif value > 901 and value < 1200:
        return (0, 255, 0)  # Green
    elif value > 1201 and value < 1500:
        return (0, 0, 255)  # Blue
    elif value > 1501 and value < 1800:
        return (75, 0, 130)  # Indigo
    elif value >1801 and value < 2100:
        return (148, 0, 211)  # Violet


while True:
    duty = adc.read_u16() #  between ~350-65535
    low_res = duty >> 5
    color = map_to_rainbow_color(int(low_res))
    hexcolor = '#%02x%02x%02x' % color

    pixels.set_pixel(0, (color))
    pixels.show()

    if not button.value():
            print("pushed")

            payload = json.dumps({
              "email": "peaches@marioland.com",
              "state": hexcolor
            })

            headers = {
              'Content-Type': 'application/json'
            }

            response = urequests.request("POST", url, headers=headers, data=payload)

            print(response) # e.g. <Response [200]>

    time.sleep_ms(100)
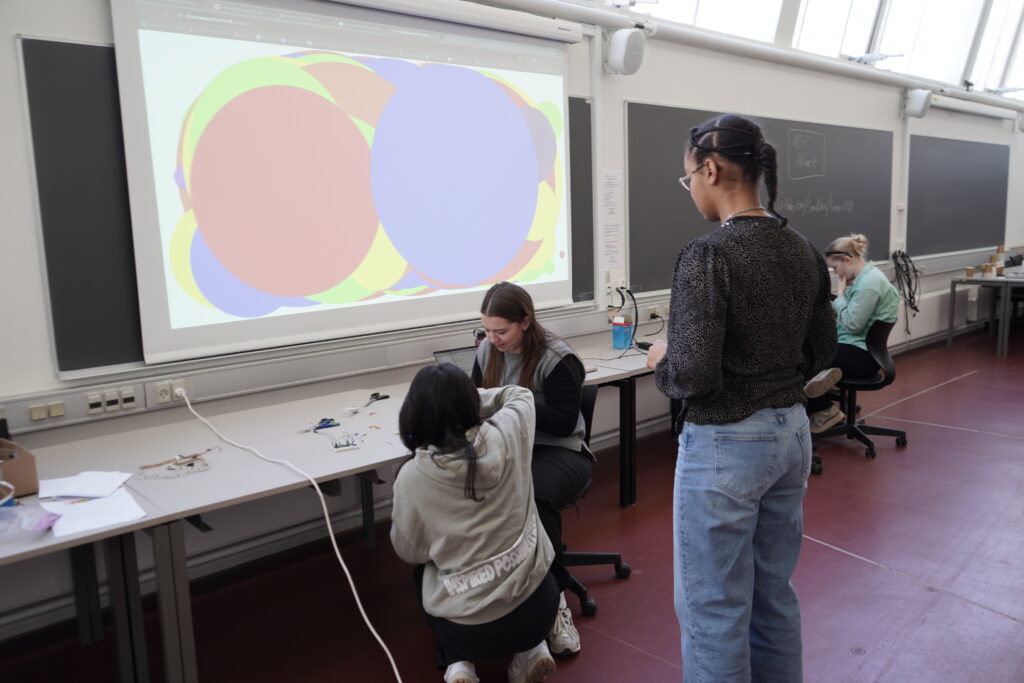
Group work – how could the artifact be implemented?
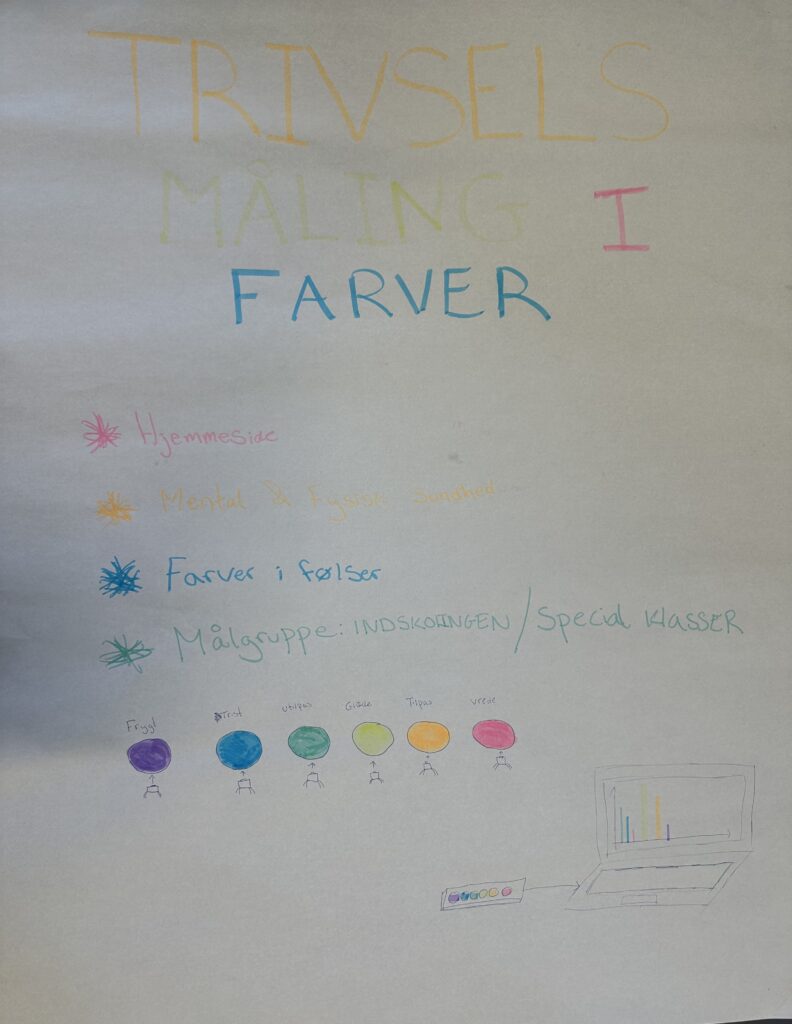
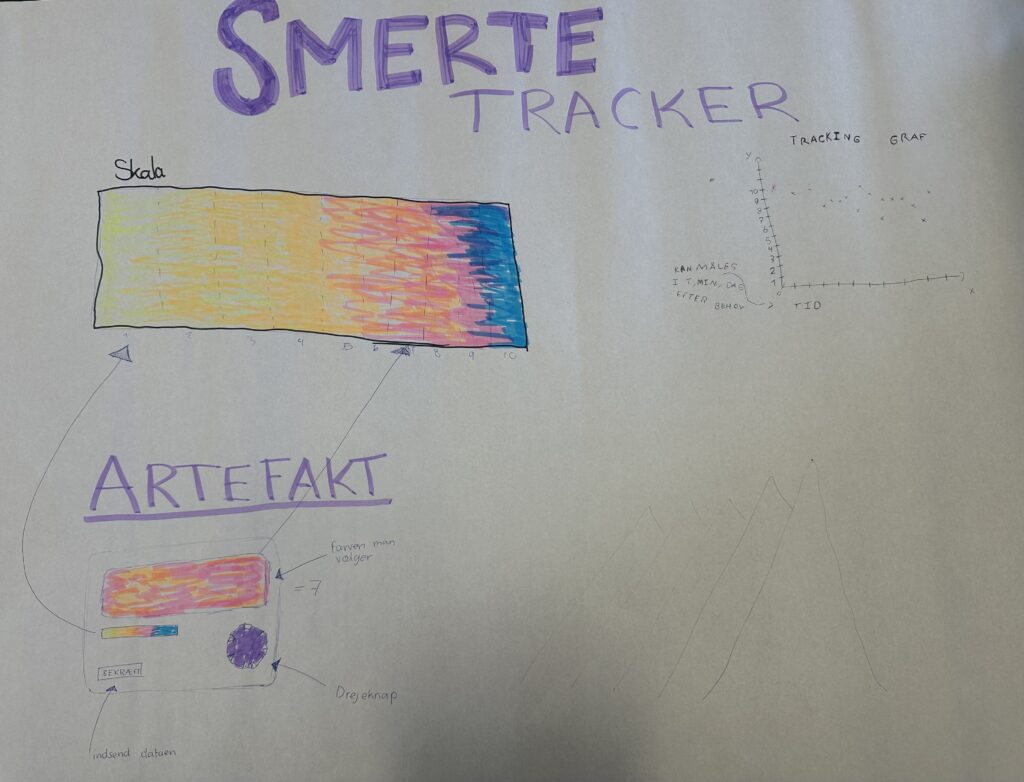
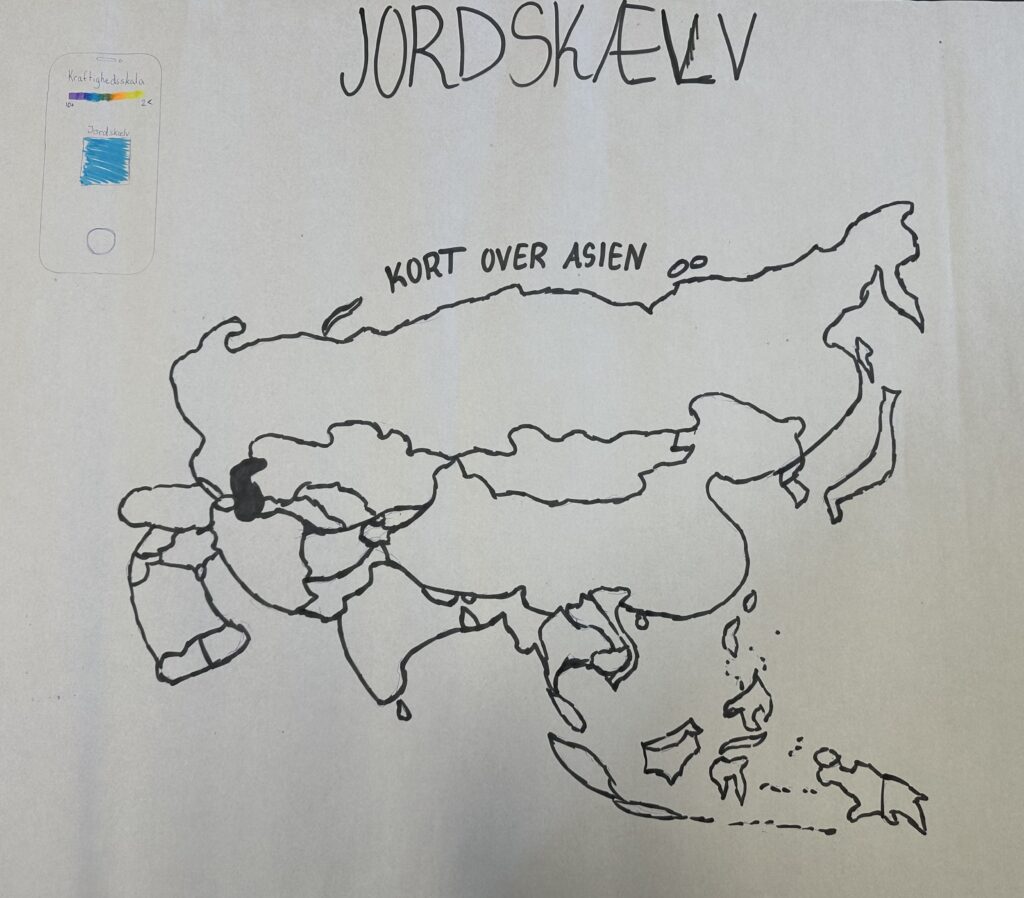
Data Visualization – pitching – Idea generation
The students were asked to think about in what setting the functionalities of the artifact would be useful, and what changes they could make in order to make it more suitable for purpose and design setting that they would use the artifact. Below is the posters that the students made.