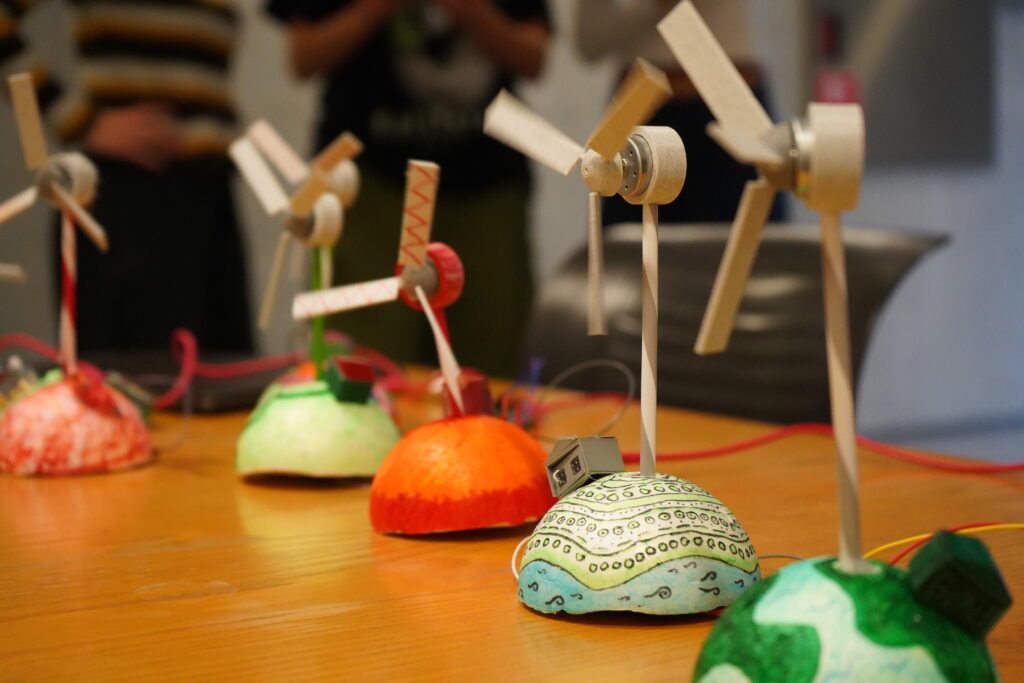
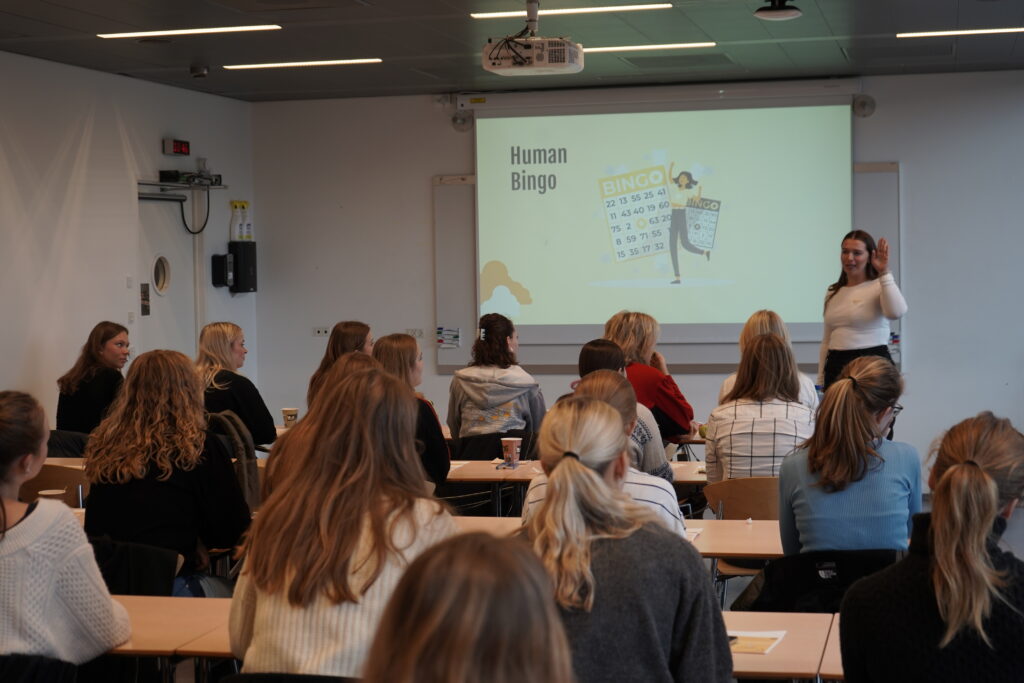
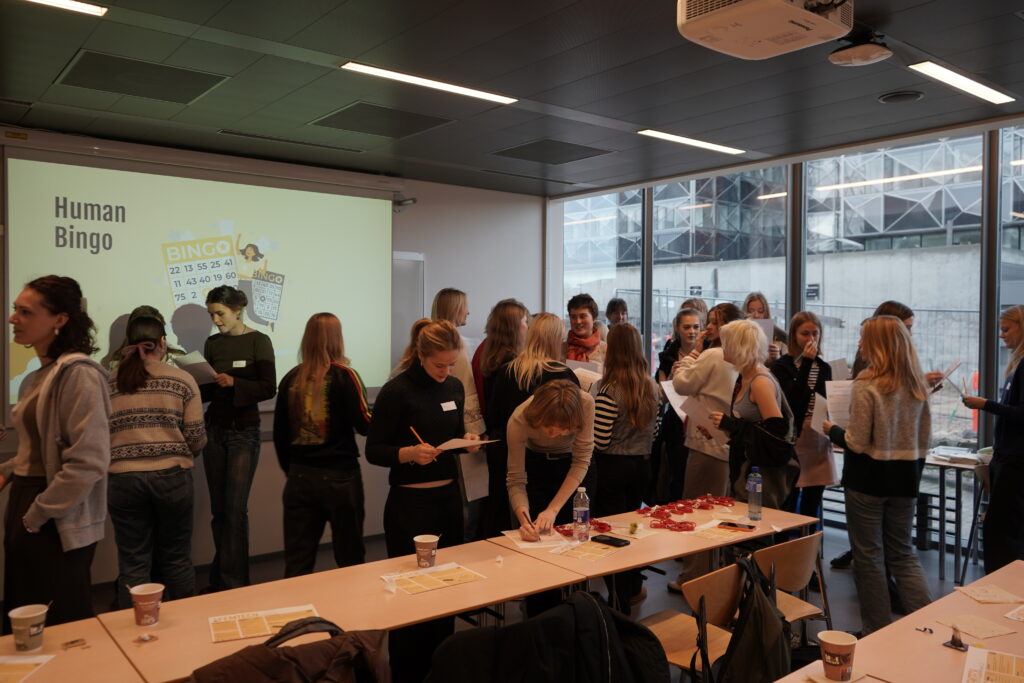
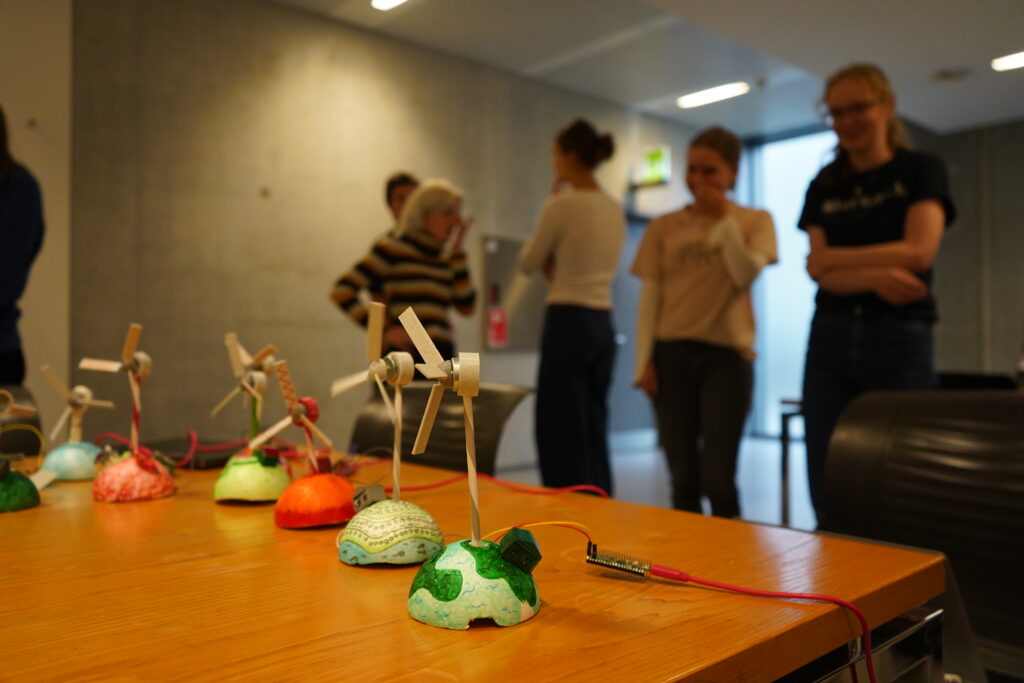
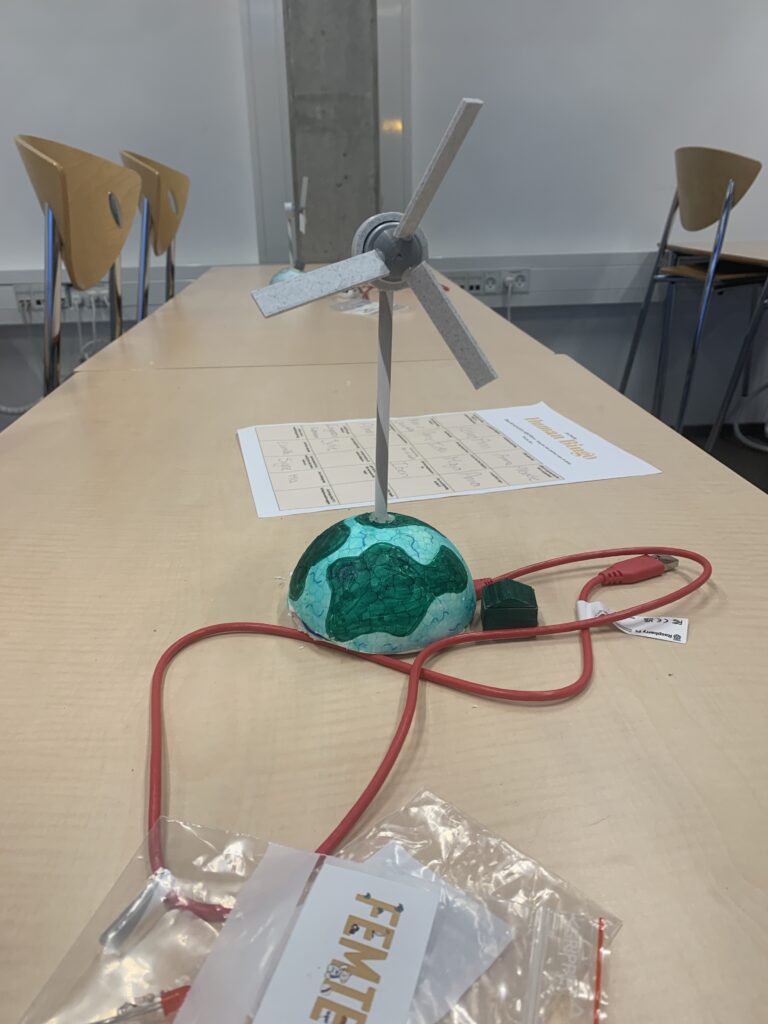
“Visualizing the future of a sustainable planet with Greta!”
In this past FemTech workshop, our focus was on creating an artifact that visually represented the then-current distribution of green and black energy. Although we couldn’t directly change energy production, we aimed to influence behavior and indirectly impact energy consumption through thoughtful visualizations of publicly available data.
The workshop was inspired by the UN’s 7th Sustainable Development Goal on sustainable energy and Greta Thunberg’s activism for a better future. Therefore, the artifact developed and taken home by participants was named “Greta” in honor of the latter.
The goals of the workshop were as follows:
- Raised awareness about energy distribution and its impact on our planet.
- Retrieved and processed energy data from public APIs.
- Used programmable microcontrollers to create a visual energy indicator.
- Developed an interactive artifact that informed and encouraged sustainable energy choices.
With this workshop, we aimed to have utilized interactive technologies to increase awareness of the then-current state of energy distribution and induce necessary behavioral changes. We hoped to have inspired everyone to take even more control over their energy consumption, as it was more crucial than ever. By creating a visual energy indicator, we aspired to have brought heightened attention to a global issue that had long demanded immediate action: a genuine transition to sustainable energy.

Components
Raspberry Pi Pico
Led
DC motor
Jumper wires
Resistors
Half craft foam balls
3D print for wings, motor case and small led house (INSERT FILE)
Step 1 – The power
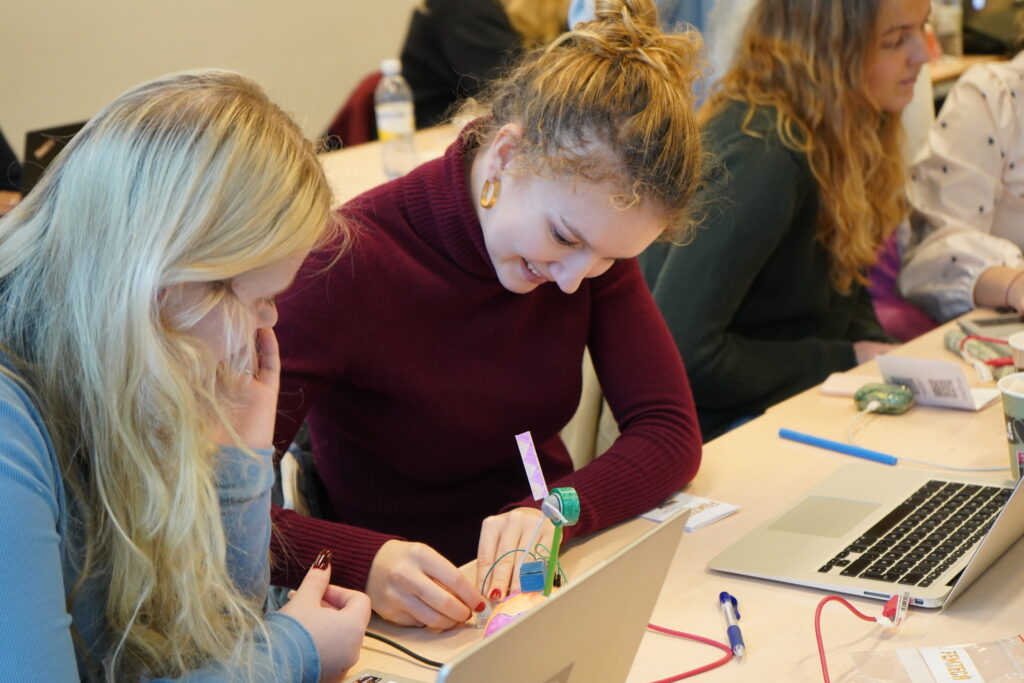
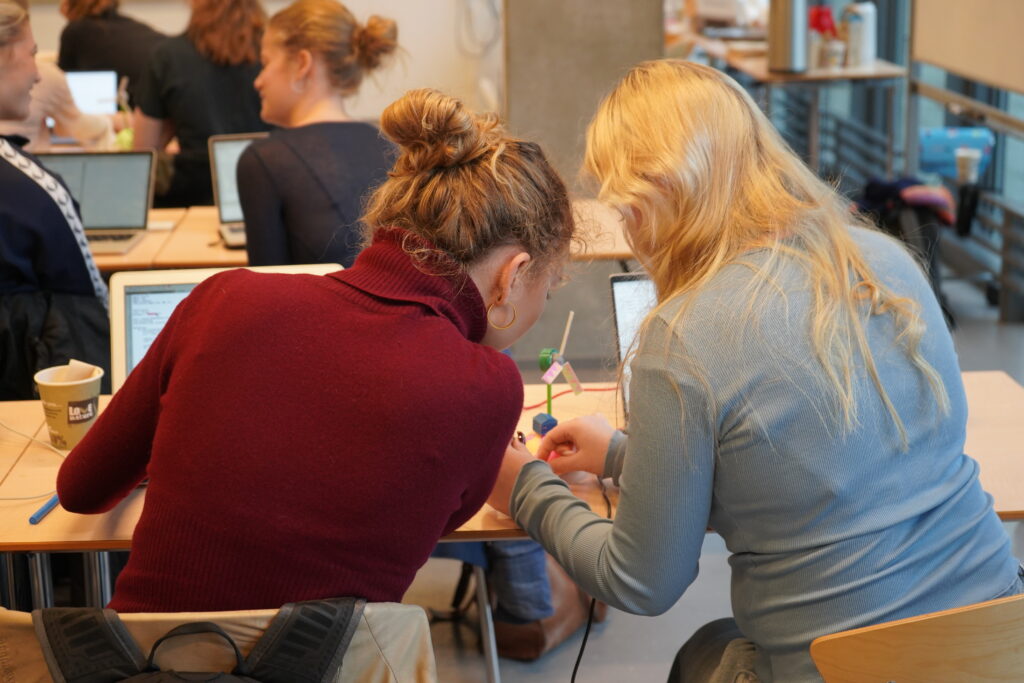
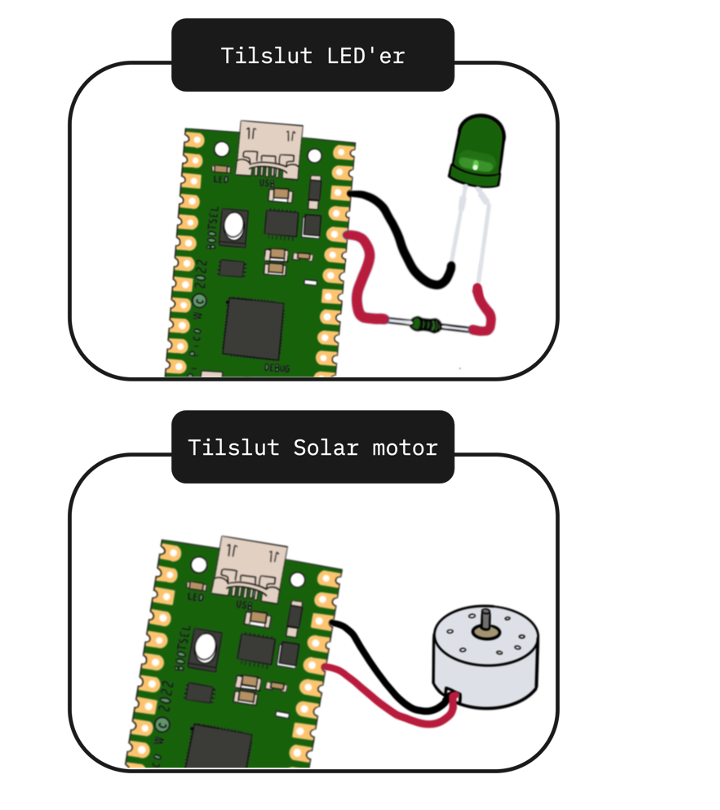
In the initial part of the workshop we introduced basic components that the students had to put together to generate light and movement, two components that will later be used for the artifact.
To make a basic power circuit the led was connected to:
- Pin 38: GND -> Short leg
- Pin 36: 3V3 -> resistor -> long leg
The led should then light up
To make a basic power circuit with the DC motor, you connect to
- Pin 38: GND
- Pin 36: 3V3
The motor pin should then rotate. If you switch the connection wires, the pin should then rotate in the opposite direction.
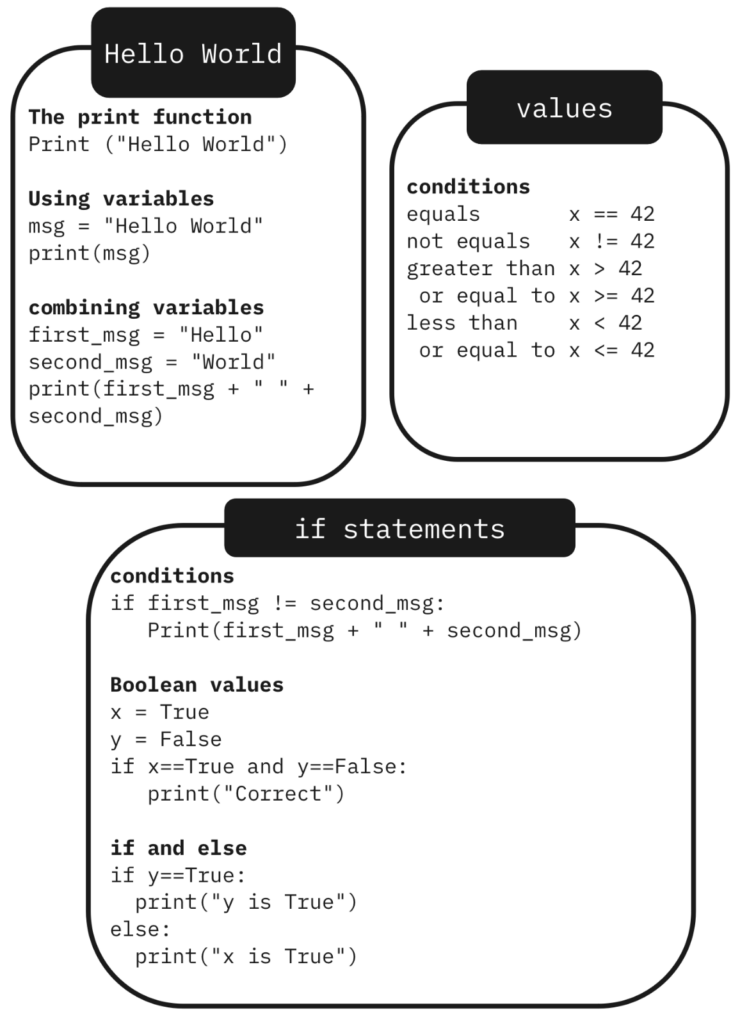
Step 2 – The Basic code
In the next part, the students were asked to download the Thonny editor. While waiting for everyone to download and get started in the editor, the students were asked to make some basic code from the following cheat sheet.
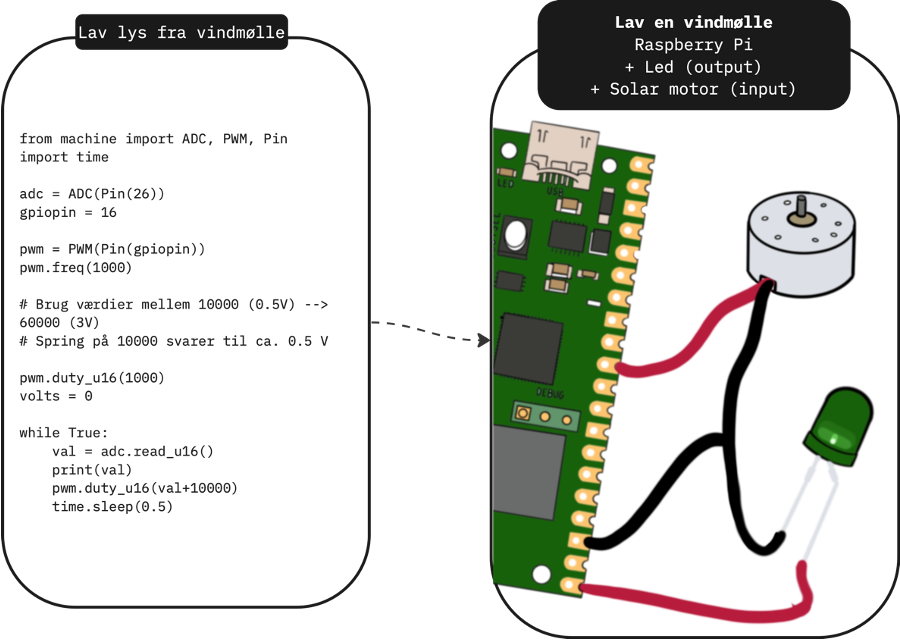
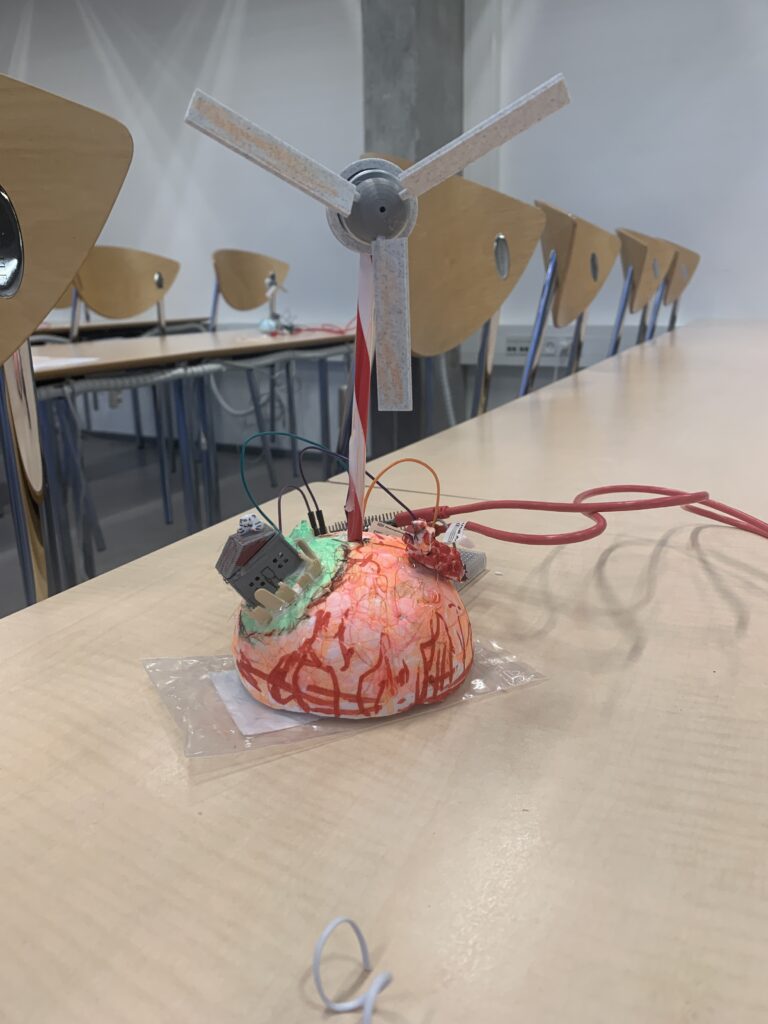
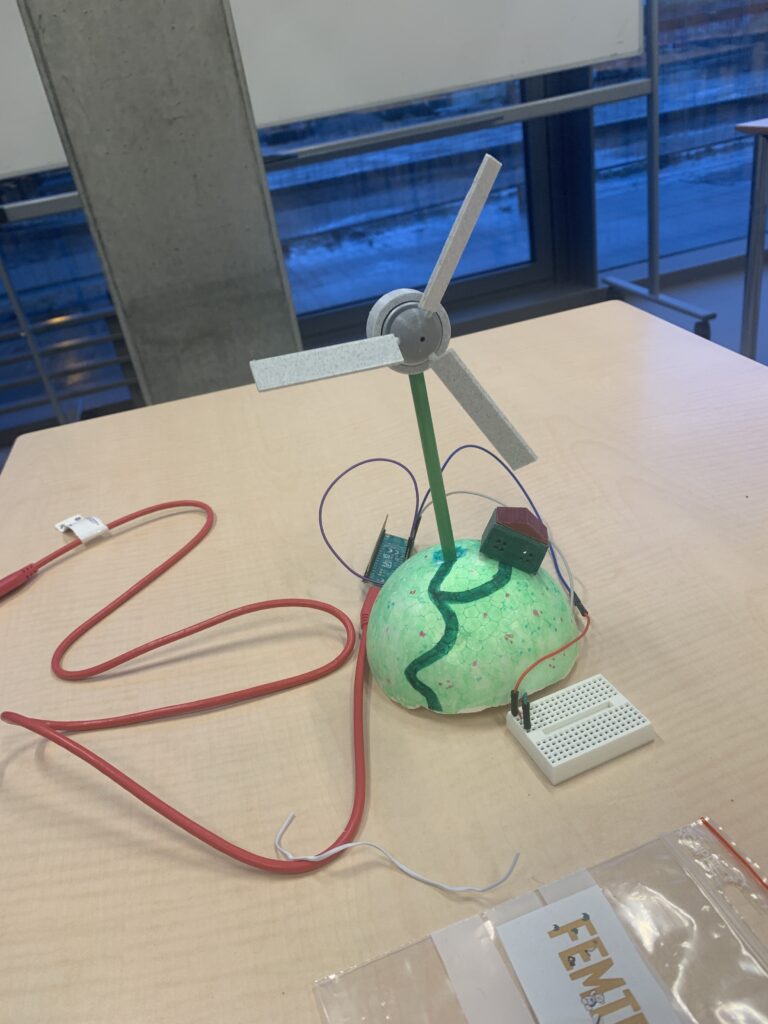
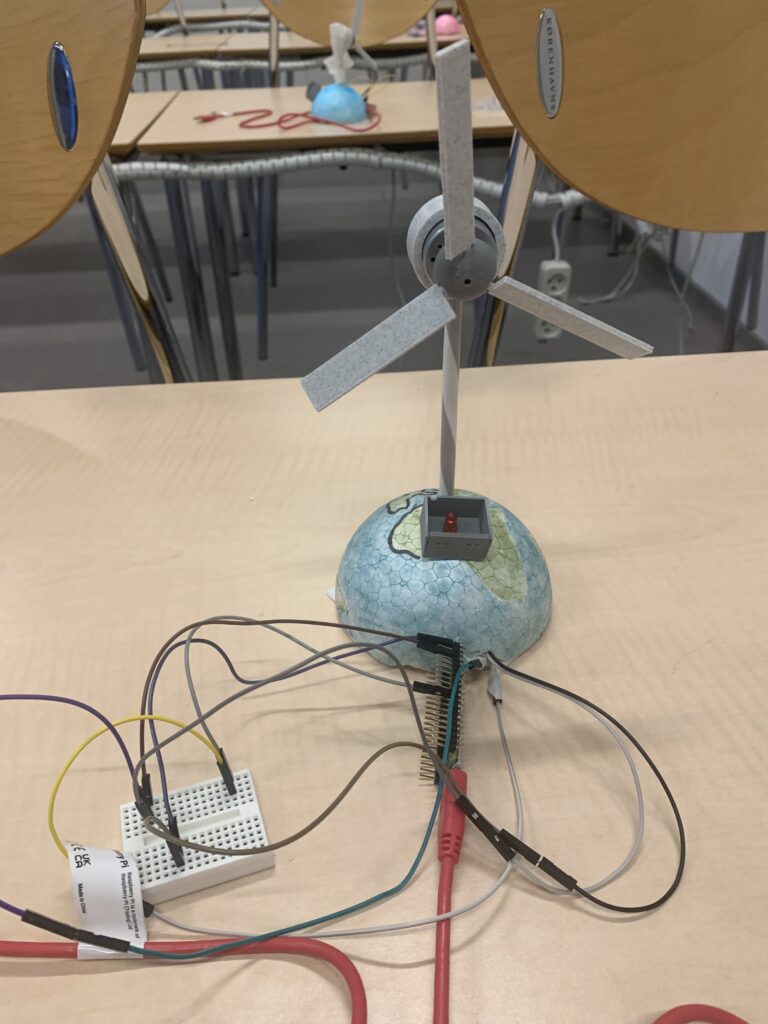
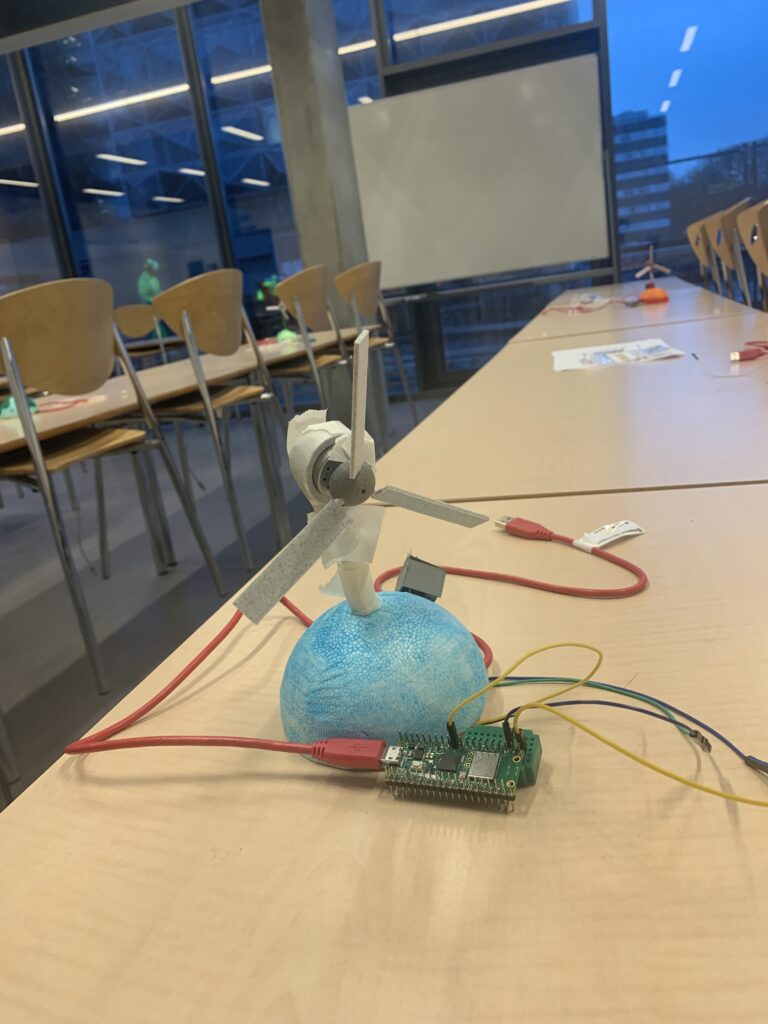
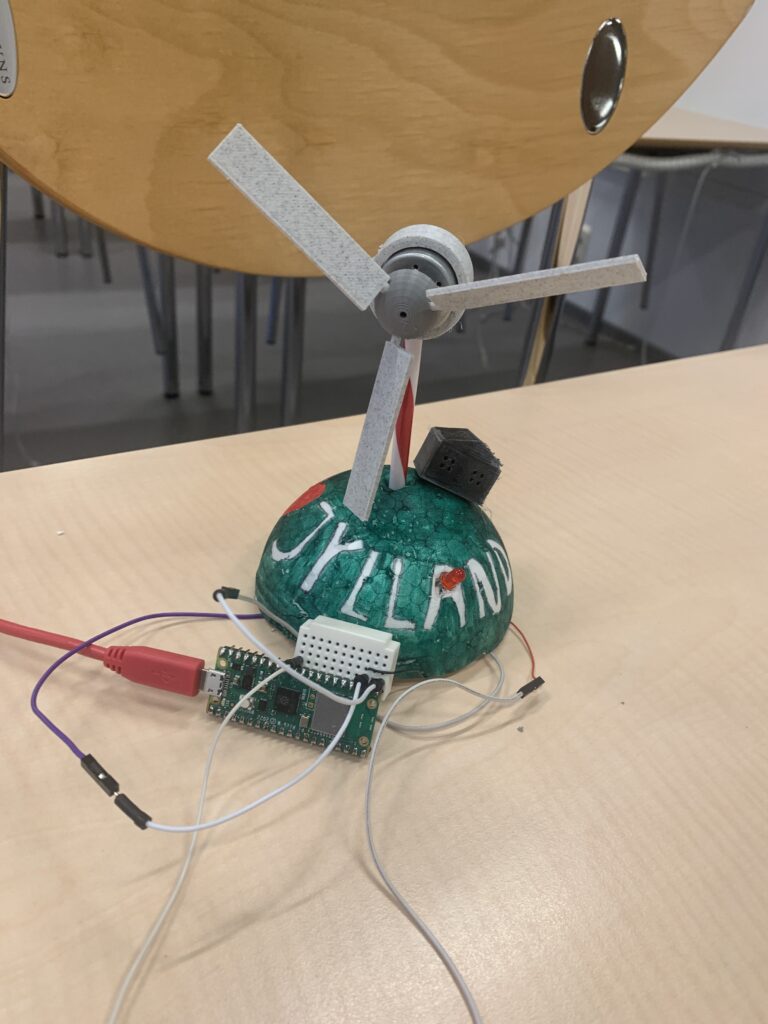
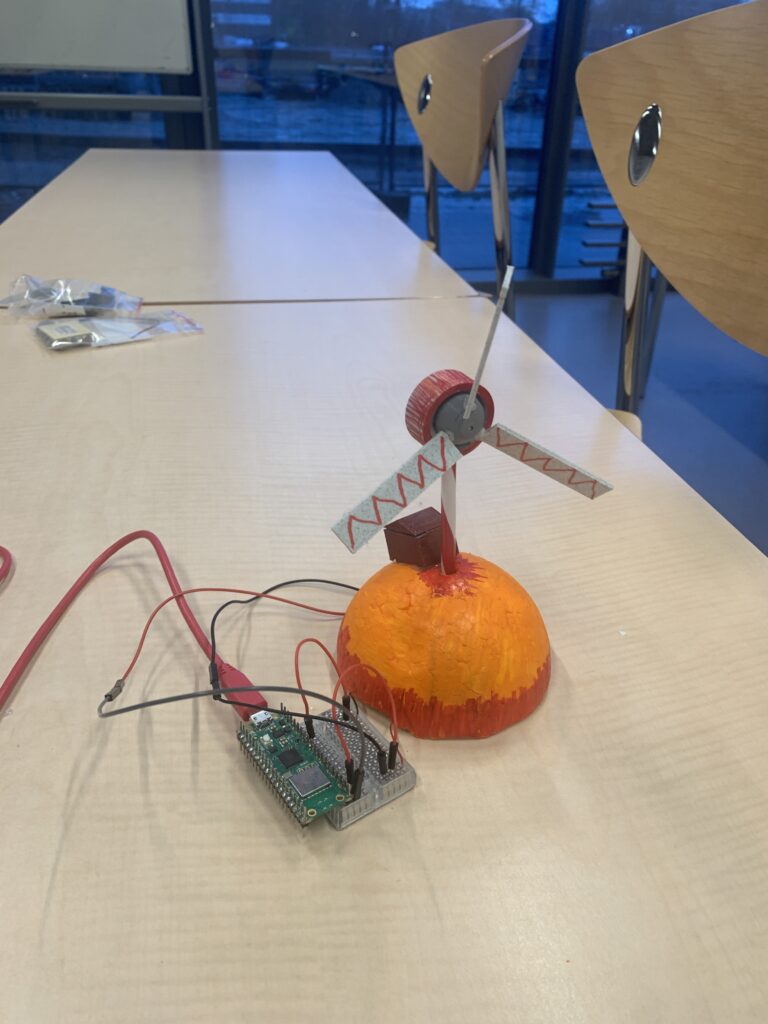
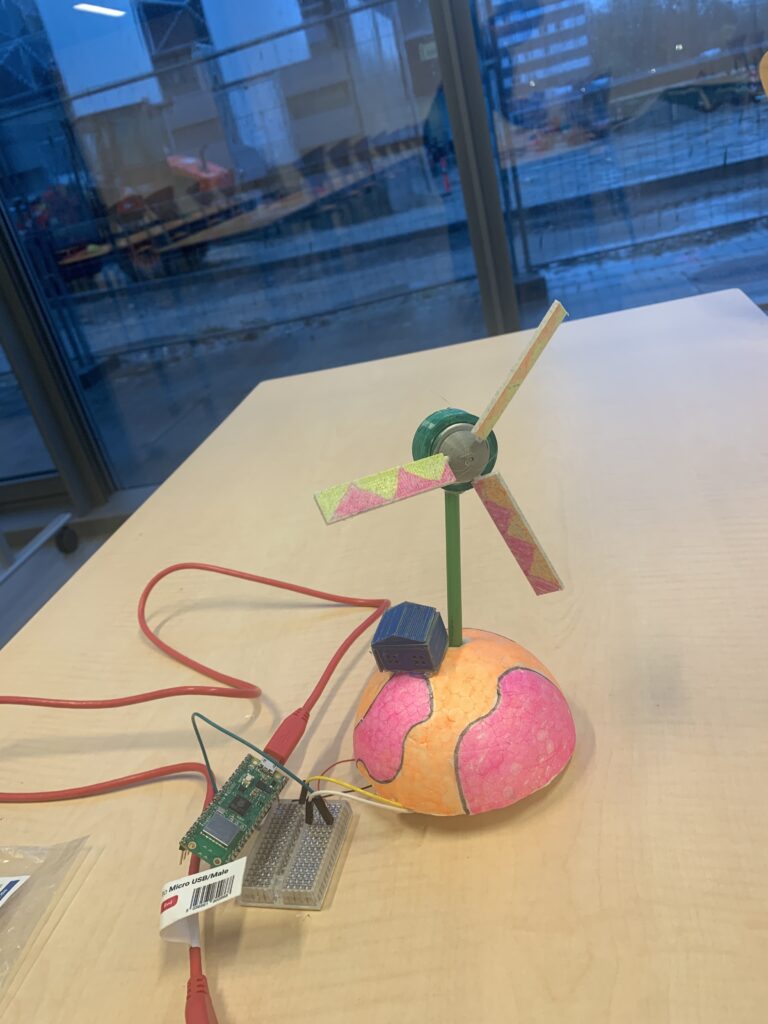
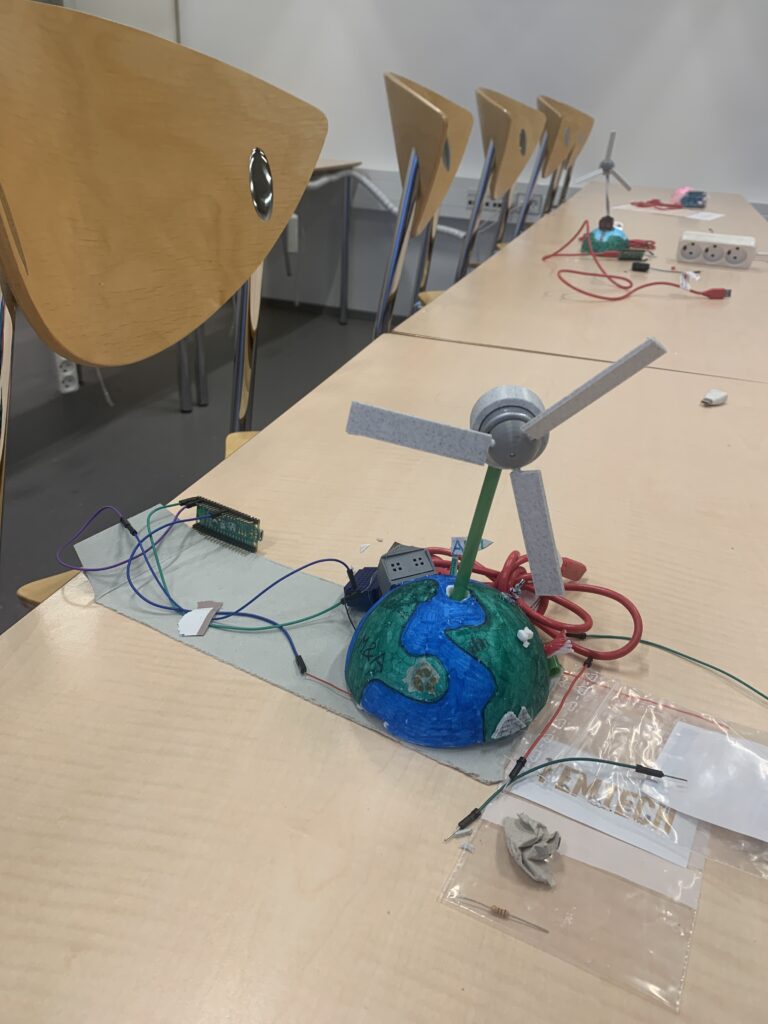
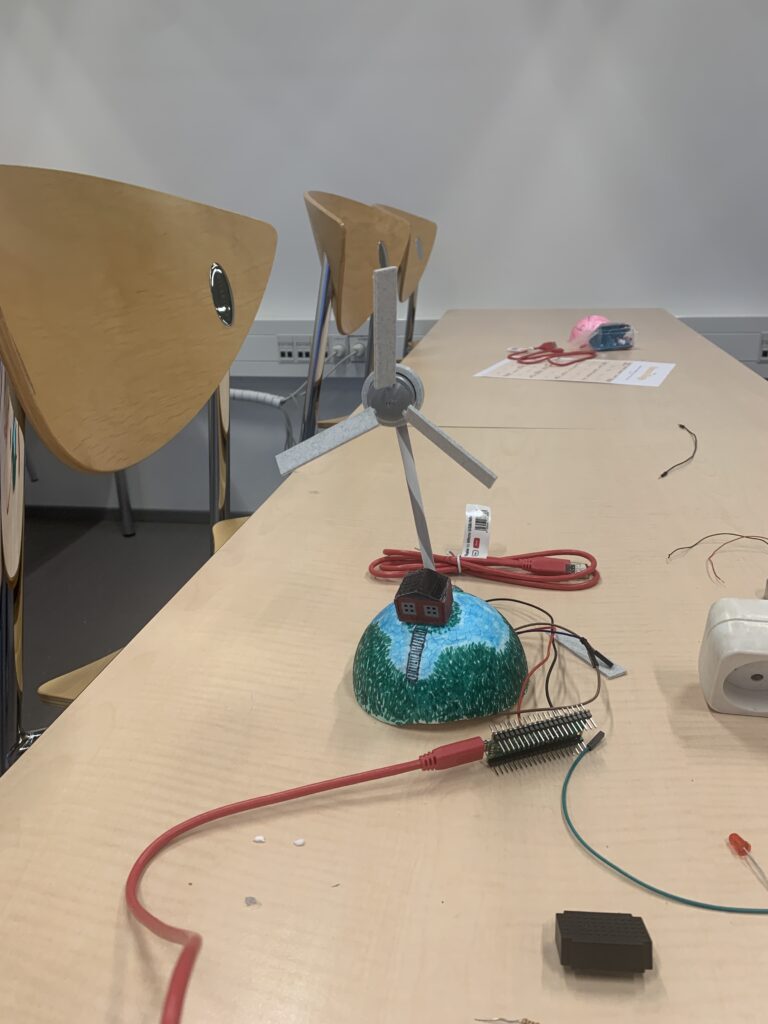
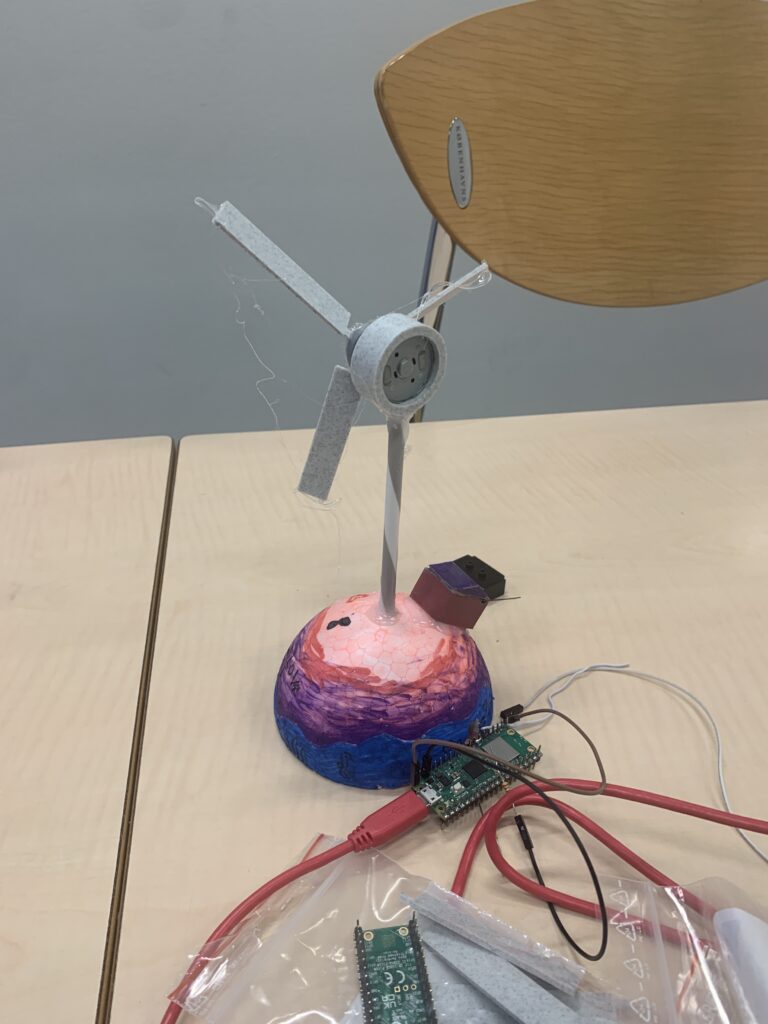
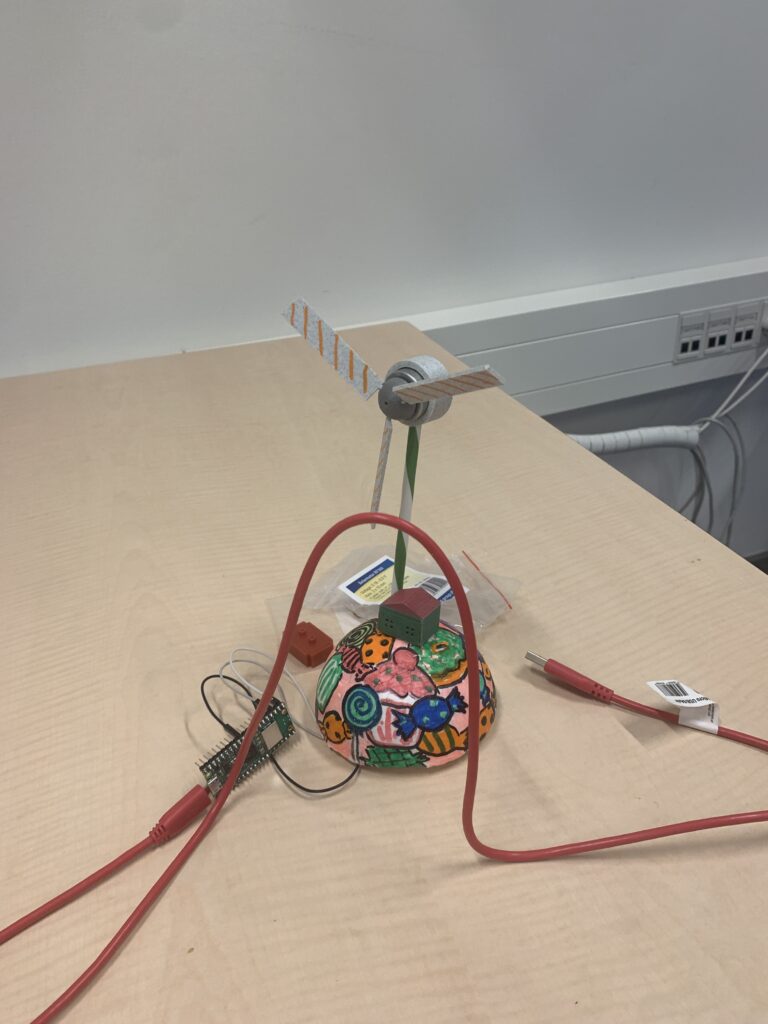
Step 3 – Make a windmill
Now the students connect the code and the components.
First they have to connect the wires in a different way and switch pins.
The led should be connected to pin 16 -> resistor -> long leg and GND – >short leg to
The DC motor should be connected to pin 26 and GND, again how you connect it, will decide on what way it will rotate, or whether the values that it will receive as input will be positive or negative. This is the explorational phase of the workshop where the students has to understand how physical connections has a huge impact on the code.
While a windmill can typically generate power to light up several LEDs, on our setup we have to change the values a bit, to make the LED light up, this is what we do in the code where we change the pwm. (val + 10000). Additionally the students should try to change this number to see the effect on the led.
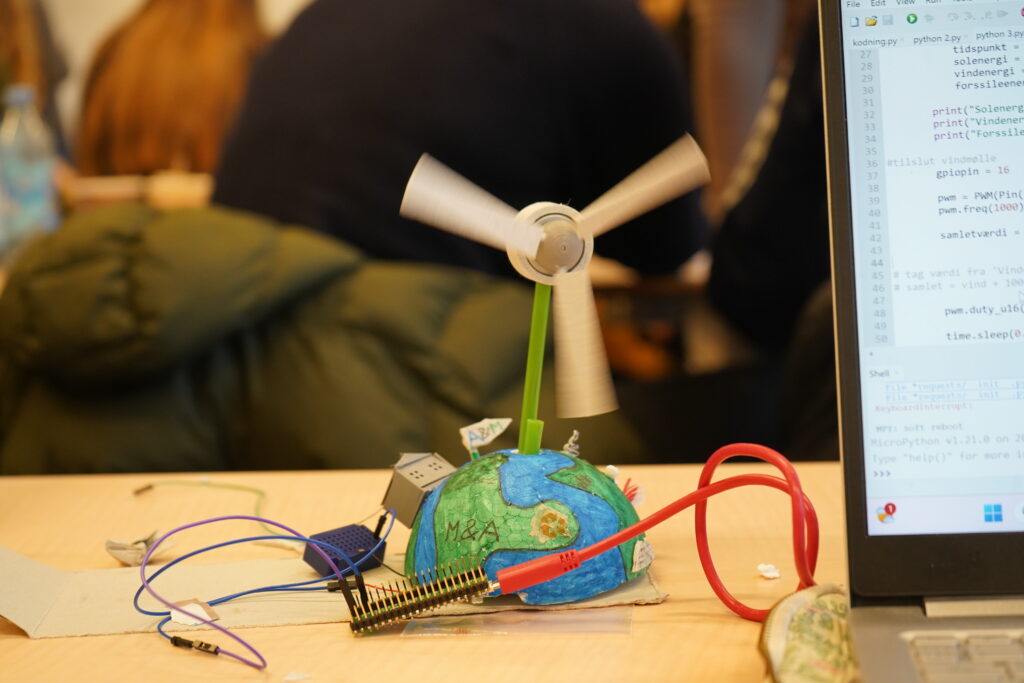
Step 4 – The API windmill
On the second day of the workshop, we went deeper into the code, and wanted to use the windmill and the small house with the led, which we made the previous day,
The goal of the day was to teach the students about API’s, how they work and the hidden ways that we actually meet API’s in our everyday life.
The following code, connects the API data collected from EnergiDataService.dk to our physical windmill setup, making the windmill rotate like the windmills in Denmark do currently.
import network
import time
import urequests
from machine import ADC, PWM, Pin


#Autorisation
ssid = "MiniPhone"
password = "femtech2023"

wlan = network.WLAN(network.STA_IF)
wlan.active(True)
wlan.connect(ssid, password)

while(True):
    if wlan.isconnected():
        print(wlan.ifconfig())
        url = 'https://api.energidataservice.dk/dataset/PowerSystemRightNow?limit=5'

        response = urequests.get(url)
        result = response.json()

        records = result.get('records', [])
        for record in records:
            tidspunkt = record['Minutes1DK']
            dele = tidspunkt.split("T")
            tidspunkt = dele[1]
            solenergi = record['SolarPower']
            vindenergi = record['OffshoreWindPower'] + record['OnshoreWindPower']
            forssileenergi= record ['ProductionGe100MW'] + record ['ProductionLt100MW']

        print("Solenergi:", solenergi)
        print("Vindenergi:", vindenergi)
        print ("Forssile Brændstoffer: ", forssileenergi)


#tilslut vindmølle
    gpiopin = 16

    pwm = PWM(Pin(gpiopin))
    pwm.freq(1000)

    samletværdi = int(vindenergi + 10000.0)


# tag værdi fra 'Vindenergi' + 10.000
# samlet = vind + 10000

    pwm.duty_u16(samletværdi)

    time.sleep(0.5)
Final step: Femtech Windmill park

Ressources
The powerpoints from the workshop:
The cheatsheet / book of knowledge